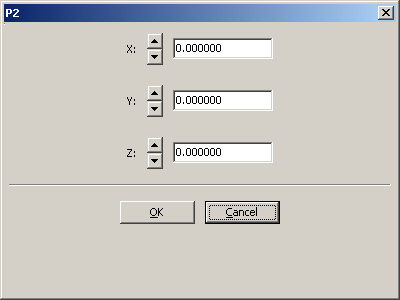
Enter the coordinates and press ok:
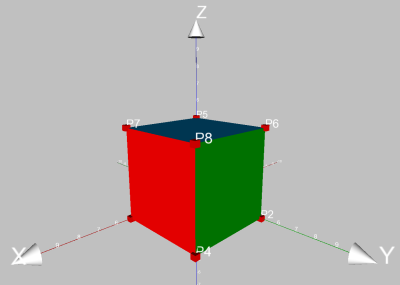
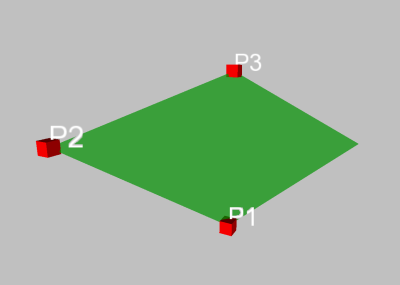
It should look like this:
Tip: You can navigate in the dialogue with the TAB-key.
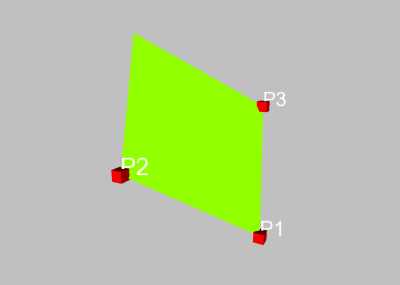
If you use the order P1, P2, P3 instead, you get:
Now you can brighten up your cube by changing the colors in the parallelograms context menus.
If the buttons are not hidden (menu Extras - settings - view - show buttons) you can change several colors simultaneously: Select the items you want to change by shift-clicking into the scene and click on the color-button.
At the same time you can set the objects transparency. This can be done in the context-menu or with the spin-box ’transparency’.
Alternatively, you can group the sides of the cube (select the sides, choose Extras - Group objects) and adjust the color for the group-object.
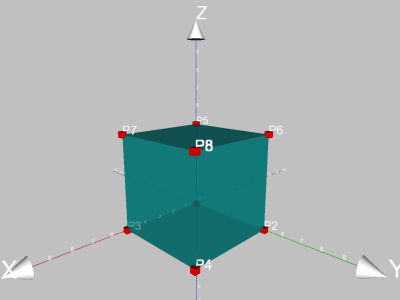
In the end, the cube could look like this: